Master the classic grips that erase stubble and give a perfect finish
Have you ever run your hand over your cheek after shaving and felt that last, stubborn stubble refuse to go away? You’re not alone. Despite a sharp razor and good lather, there are areas where the usual strokes just aren’t enough. This is where the forgotten techniques come in. By adding buffing and J-hooking to your routine, you can reach a level of closeness that previously seemed impossible. We’ll teach you how to master these advanced barber tricks for an irritation-free finish that lasts all day.
What is buffing?
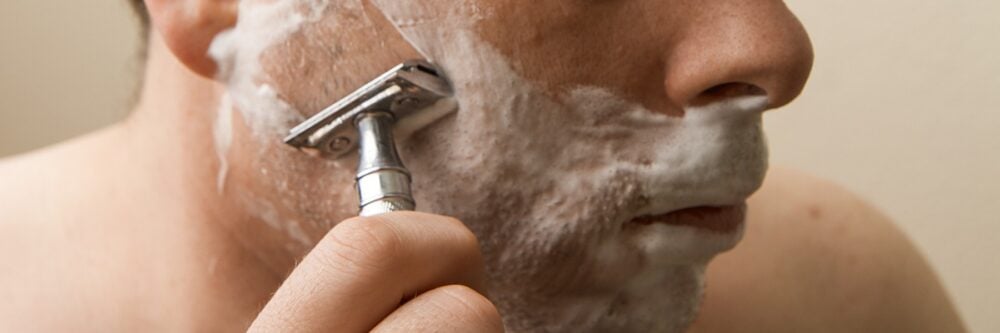
Buffing is a technique used to buff away the very last remnants of stubble in problem areas. This involves making short, quick and light strokes with the razor back and forth over a limited area where the hairs grow in different directions. By using buffing with minimal pressure, you can achieve an extremely close shave in places such as the chin or jawline, without having to re-shave your entire face.
What is J-hooking?
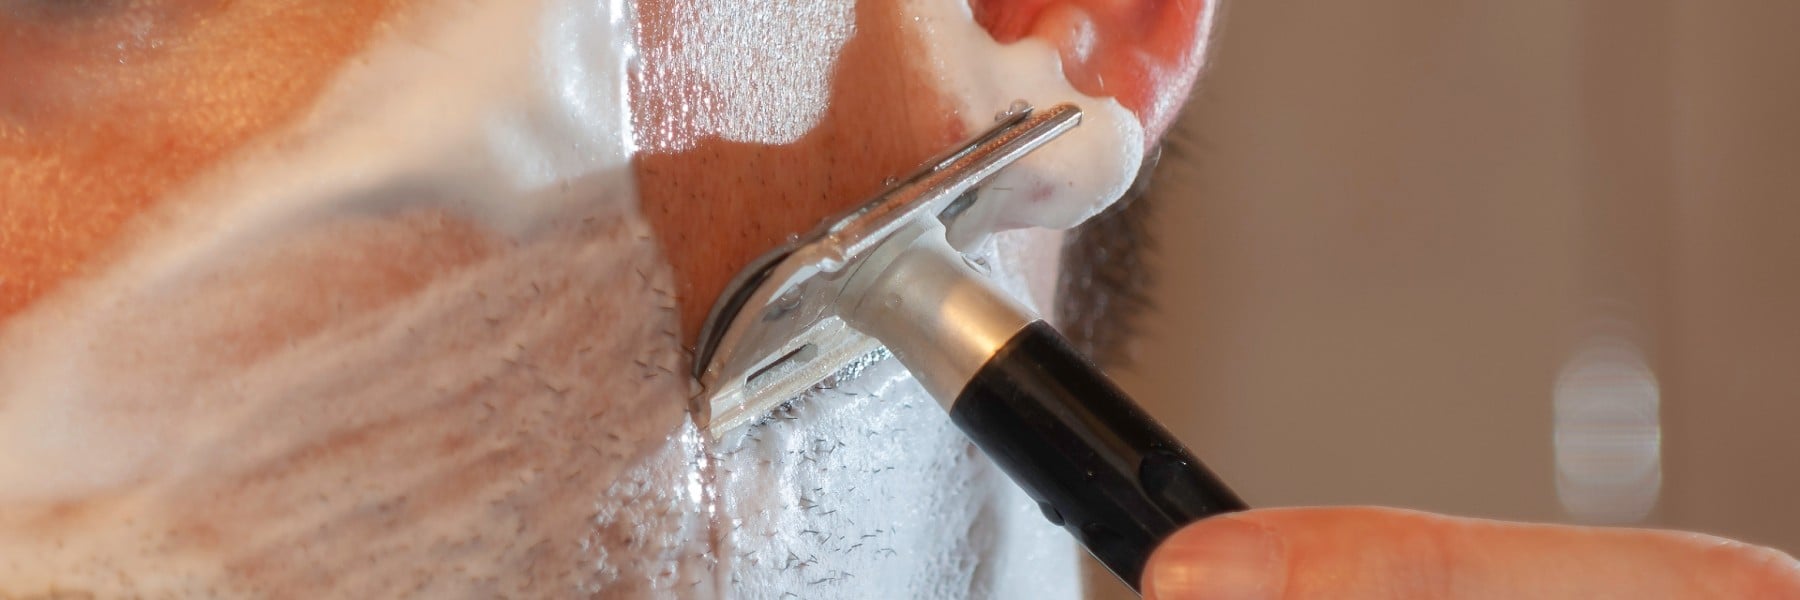
J-hooking gets its name from the movement the razor performs – a curved maneuver similar to the letter J. Instead of pulling the razor in a straight line, you rotate your wrist to “hook” onto hairs that lie flat against the skin or grow in swirls. Mastering J-hooking is particularly effective on the neck and under the ears, where the technique allows you to cut off the hairs at the root from angles that regular straight strokes simply miss.
So what does buffing mean?
Precision in short strokes
Mastering buffing is basically about working with small, controlled movements instead of long swipes. By focusing on an area of just a few centimetres at a time, you can attack the stump from multiple angles in a single sequence. It’s a method that requires dexterity, but once you get into the rhythm, it becomes an indispensable tool in your shaving arsenal.
The secret to successful buffing lies in letting the razor’s own weight do the work. Since you are moving the blade back and forth over the skin at a rapid pace, it is absolutely crucial that you do not press the razor against your face. Too much pressure combined with the repeated strokes significantly increases the risk of razor burn, so keep a feather-light grip.
Protection and lubrication
Before you begin your buffing, it’s important to ensure that the skin is still well-lubricated. Since the technique is often performed towards the end of the shave, when most of the lather has already been shaved off, you may need to apply a little extra shaving gel or water to maintain the glide. This protective layer is what separates a professional finish from an irritated one.
By being careful with the preparation, you can safely polish the areas where hair grows extra densely or in irregular directions. When performed correctly, the technique leaves the skin completely silky smooth, even in the most hard-to-reach places around the chin. It’s this attention to detail that transforms a regular morning routine into a genuine barbering experience at home in the bathroom.
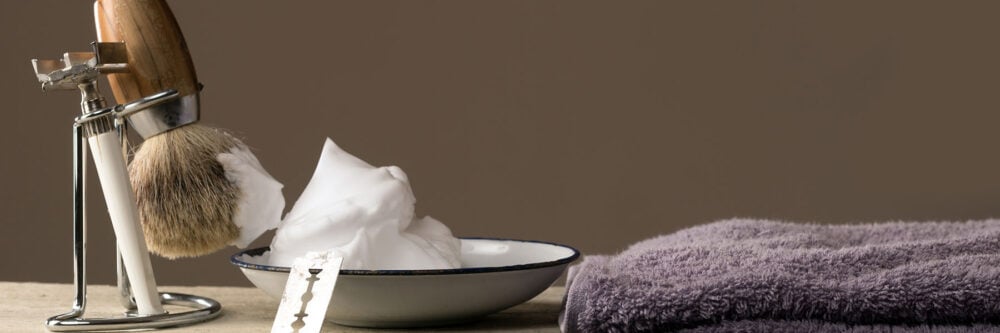
Wet shaving with buffing
1. Preparation and lather
All good shaving starts with heat and moisture. Wash your face with warm water or apply a warm towel to soften the beard hairs. Then, apply a rich shaving foam with a shaving brush. Work up a proper protective layer that lifts the hairs away from the skin; this is especially important when you plan to use more advanced techniques.
2. The first sessions
Start by shaving your entire face with the hair to remove the bulk of your beard. Rinse off, apply new lather, and then shave against the hair. After these two sessions, your face should feel smooth, but this is when you identify those little “islands” of hidden stubble that require extra attention.
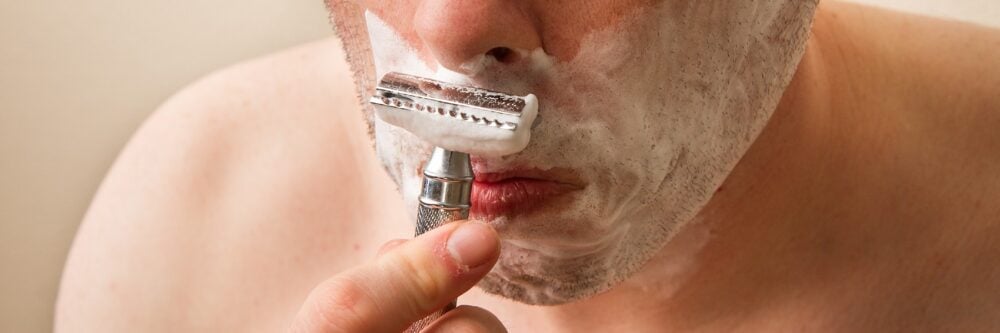
3. The buffing phase for overall smoothness
Now it’s time for the forgotten technique. Identify an area where it still feels rough, such as at the tip of the chin. Apply a small amount of lather to that particular area. Use short, quick and extremely light strokes with the razor – almost as if you were “erasing” with a pencil. By using buffing, you polish the surface from several angles in one quick succession, effectively cutting the hairs that escaped the long strokes.
4. Aftercare and recovery
Since buffing involves passing the blade through the same skin surface multiple times, aftercare is critical. Rinse your face with ice-cold water to close pores and soothe the skin. Finish with an alcohol-free after shave balm that moisturizes and repairs. The result is skin that not only looks perfect, but also feels incredibly soft without the usual irritation that can occur when too much pressure is applied.
Frequently asked questions and answers about buffing
1. What is the main benefit of buffing?
The main advantage is that you get an extremely close shave on areas where hair grows in different directions, without having to re-shave the entire face. It buffs away the last stubble for a completely smooth finish.
2. Can I use buffing with a shavette or razor?
It is possible but requires extremely high precision and a very stable hand. Since a shavette and a razor have a fully exposed blade with no protective mechanisms, the short, fast movements of buffing mean a higher risk of cuts. If you choose to use the technique with these tools, you should have extensive experience and apply almost non-existent pressure to the skin.
3. How do I avoid razor burn when using buffing?
The key is “zero pressure”. Since the blade passes the same area several times, you need to let the weight of the razor do the work and make sure that the skin is well lubricated with lather or water at all times.
4. Which parts of the face are best suited for buffing?
The technique is ideal for flat but hard areas such as the cheekbones, chin and straight parts of the jawline where the stump is often deep.
5. How quickly should I make the moves?
The movement should be short (about 1-2 cm) and rhythmic, but not so fast that you lose control. Think of it as a controlled, erasing movement rather than stressful jerks.
So what does J-hooking mean?
The art of curving the leaf
Once you’ve mastered the straight strokes, it’s time to introduce J-hooking to deal with the areas where hair grows in swirls. The technique relies on a wrist movement that creates a small hook-shaped path with the razor, allowing the blade to cut off hairs from the side instead of just sliding over them. This is particularly effective on the neck, where hair growth often changes direction and requires a more dynamic approach than traditional vertical strokes.
By using J-hooking, you can effectively ‘catch’ hairs that lie flat against the skin. Instead of pressing harder – which only leads to cuts – you let the rotating motion do the heavy lifting. It’s all about wrist-arm coordination, with a gentle turn at the end of each stroke ensuring that the blade meets the stubble at the optimal angle for a clean cut.
Precision in difficult areas
One of the biggest benefits of J-hooking is its ability to clean the area just below the jawline and around the Adam’s apple. These zones are notorious for being difficult to shave, but with the curved technique, you can navigate around the natural contours of your face with surgical precision. It takes a bit of practice to find the right angle, but the result is a noticeable difference in how long your shave stays smooth throughout the day.
To be fully successful, you should always make sure that the skin is stretched with your free hand while performing the movement. This highlights the hairs and gives the blade a flat surface to work on, even though you’re moving in a curve. Once you’ve implemented J-hooking into your regular routine, you’ll notice that you need fewer sessions with the razor, which in turn spares the skin and gives a finish that feels professionally done.
Wet shaving with J-hooking
1. Warm-up and mapping
Start by softening your beard. Before applying your lather, it’s important to run your fingers across your face to chart how your hair grows. At the areas where hair grows in circles or diagonally, it’s extra beneficial to mentally prepare to use J-hooking later in the process.
2. Basic shaving (Lather and straight strokes)
Whip up a creamy lather and apply in circular motions. First, do a regular session with the hair to shorten beard growth. Rinse off and apply a new layer of lather for the next step. It’s important that the skin is always slippery and protected before starting the more advanced movements, as the blade will move at angles that the skin is not as used to.
3. J-hooking for the difficult parts
Once you’ve removed most of the stubble, focus on the problem areas, such as the neck or just behind the angle of the jaw. Put the razor down and begin a short stroke, but instead of continuing straight along the skin, swing your wrist in a small semicircle – just as if you were drawing the letter J. Using J-hooking in this way, you are attacking the hairs from the side, causing them to be cut off instead of the razor just skipping over them. Repeat the movement methodically over the uneven areas.
4. Completion and Calming Care
Once you’ve navigated all the swirls with your J-hooking technique, rinse your face thoroughly with lukewarm and then cold water. Cold water will draw the skin together and soothe any areas where the technique has been particularly effective. Finish with a hydrating aftershave balm to maintain skin elasticity and radiance after the deep shave.

Frequently asked questions and answers about J-hooking
1. Why is it called J-hooking?
The name comes from the movement you make with your hand. Instead of a straight stroke, you finish with a curved motion that looks like the letter “J,” causing the blade to cut off hairs from the side.
2. Is J-hooking safe for beginners?
It is an advanced technique that requires good blade control. We recommend that you first feel completely confident with your planer before you start experimenting with the curved movements to avoid cuts.
3. Why does J-hooking work so well on the neck?
The hairs on the neck often grow in swirls or diagonally downwards. By swinging the blade with J-hooking, you meet the hairs at an angle that cuts them more effectively than a straight pull from above or below does.
4. Do I need to tighten my skin extra when J-hooking?
Yes, it is crucial. Since you are moving the blade in a curve, the surface must be as flat as possible. Use your free hand to stretch the skin in the opposite direction to where you are shaving.
5. Can J-hooking cause ingrown hairs?
If you use the technique correctly, it rather reduces the risk, as it cuts the hairs cleanly. However, if you press too hard and cut the hair below skin level, the risk can increase, so focus on technique rather than power.


