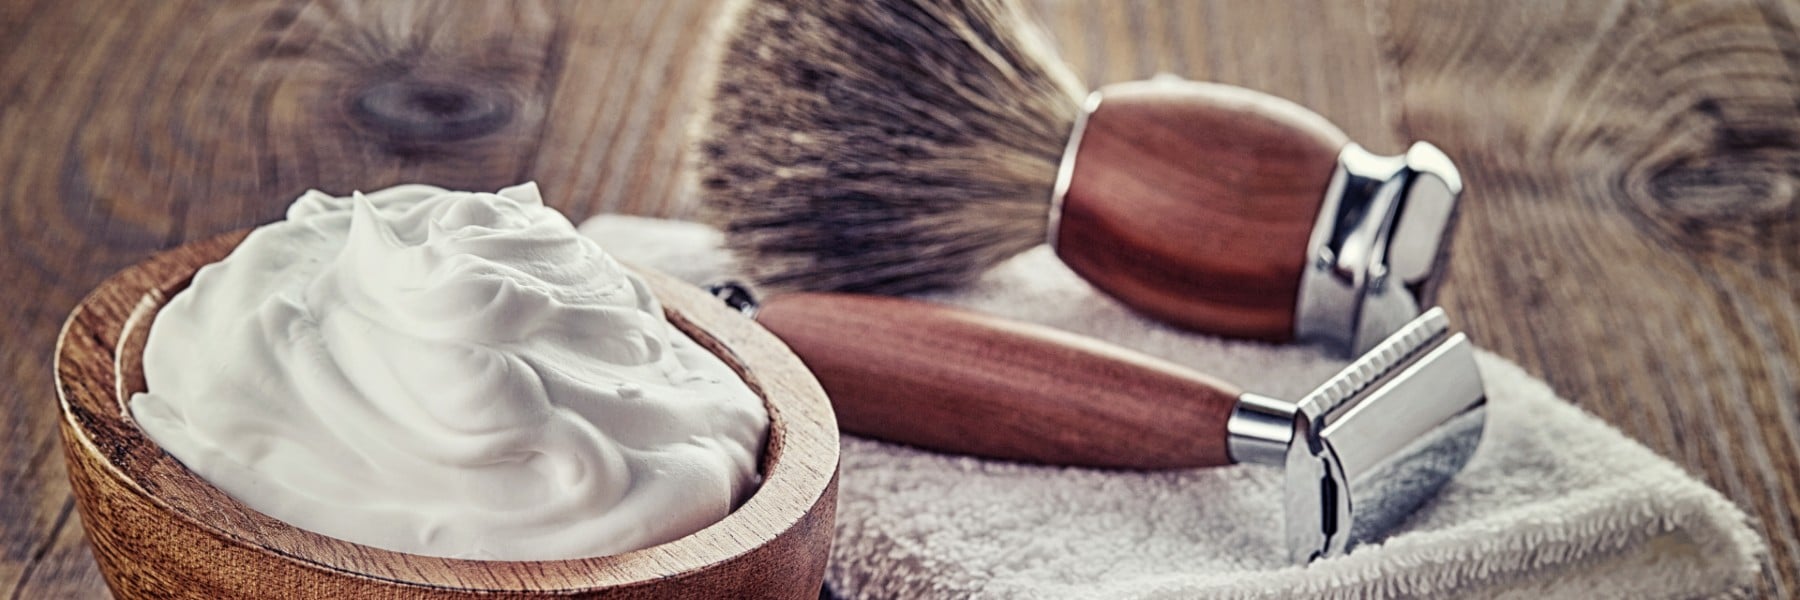
A really good shave isn’t just about technique and sharp blades – it’s about your shaving tools getting the care they deserve. After a long winter of daily use, residues of soap, sebum and limescale accumulate that can impair both the hygiene and precision of your equipment.
In this guide, we’ll walk you through how to take deep care of your shaving tools by restoring your safety razor to new condition, deep cleaning your shaving brush for optimal resilience, and safely disinfecting your shavette or razor. We also do not forget the details; Even your shaving cup and shaving stand need a run-through to keep your shaving surface fresh and germ-free.
By investing time in maintenance, you not only extend the life of your equipment, you also ensure that every move is as gentle as possible on your skin.
Why a "spring clean" is necessary for your skin?
Many men find that their skin becomes more irritated during certain periods, even though they use the same products as usual. Often you look for the fault in the shaving soap or the technique, but the truth is often hidden in the shaving tools you use every morning. During the cold months of winter, we tend to use warmer water and perhaps heavier pre-shave oils. These leave a film on metal and bristles that does not disappear with a regular rinse.
Bacterial growth is another factor. A bathroom is often a humid environment with limited ventilation. If your shaving tools are not clinically clean on a regular basis, you risk transferring old bacteria to the microscopic cuts that occur with each shave. The result? Razor pimples, redness and a generally poorer skin. Therefore, now is the time to spring clean your shaving tools.
Step 1: The safety razor – Disassembly and decontamination
Your safety razor is the workhorse of your routine. Whether it’s made of stainless steel, chrome, or brass, it is subject to tremendous wear and tear.
Deep cleaning of the mechanics
Start by disassembling the planer completely. If you have a three-piece planer, separate the head, base plate, and handle. If you have a “Butterfly” model, open it completely. Put all parts in a solution of warm water and a mild, fat-dissolving dishwashing liquid.
The detergent is crucial because it breaks down the fats from the shaving oils and sebum that settle in the threads. Soak the parts for at least 20 minutes. Then, use a soft toothbrush to clean each scratch. Pay extra attention to the threads of your shaving tools, as dirt here can cause the razor to not close properly, which changes the angle of the blade and can cause cuts.
Disinfecting against skin problems
Once the planer is visibly clean, it’s time for the invisible cleaning. Use medical alcohol (isopropanol) or a dedicated shaving disinfectant solution. This step is critical if you share a bathroom with others or if you have recently had skin problems. Dip the metal parts (not the blade, it should always be replaced!) in the alcohol for 30-60 seconds. Then wipe with a lint-free microfiber cloth. The shine that occurs is not only aesthetic – it is a sign of a sterile surface.

Step 2: The Shaving Brush – From Brittle to Resilient
There are many home remedies circulating online that a shaving brush benefits from a treatment with regular hair shampoo or conditioner, but the truth is that these products often defeat the purpose of the brush. They are designed to leave behind films and softening chemicals that actually impair the hairs’ ability to absorb water and build a rich lather. To keep your shavers performing year after year, a more functional approach to cleaning is required.
Professional cleaning without unnecessary additives
The most important thing for your shaving tools made of both natural hair and synthetic fibers is to regularly remove accumulated soap residue that has penetrated deep into the knot. When these dry, they make the straws stiff and brittle, which leads to them breaking off prematurely.
The initial rinse:
Start by rinsing the brush thoroughly under running lukewarm water. Avoid water that is too hot as it can affect the glue that holds the straws to the handle.
Detergent as a problem solver
Use a very small amount of mild dish soap and gently massage it in from the base and out towards the ends. The detergent is unbeatable when it comes to dissolving the hardened soap residues and greases that make the brush stiff and lifeless, without leaving the unwanted membranes that hair care products do.
The importance of final rinsing
Rinse extremely thoroughly and for a long time. Detergent residues are just as harmful to the next shave’s suds as the old soap residues were. Continue until the water is completely clear and the straws feel naturally “rough” rather than smooth.
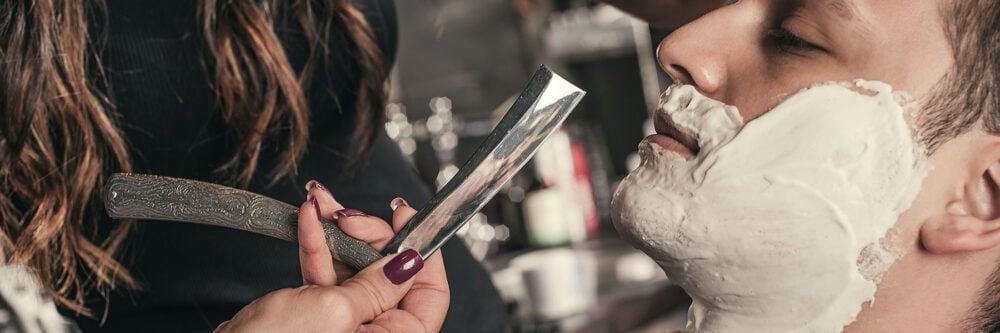
Step 3: Razor and Shavette – Precision and Protection
For a razor or a shavette, spring cleaning is mainly about two things: preventing microscopic corrosion on the edge and ensuring a completely sterile environment. Because these tools come into direct contact with the skin’s barrier in a much more exposed way than a safety razor, hygiene here is absolutely crucial.
Maintenance of the fixed razor
A classic razor is a craft that demands respect, especially when cleaning. The golden rule is that a fixed razor should never be immersed in water, as moisture easily penetrates the hinge and causes rust from the inside.
For this walkthrough of your shaving tools, use a cotton ball dampened with a little medical rubbing alcohol to gently wipe the blade. This removes invisible residues of dried-on soap that can affect the quality of the steel. Then focus on the handle (scalds), which are often forgotten. Use a swab to thoroughly clean the narrow space between the scalds where the blade rests when folded. Dust and moisture often accumulate here, which can lead to rust spots on the blade. If your knife is made of carbon steel, it’s extra delicate; Therefore, always finish by applying a drop of acid-free oil (e.g. camellia oil) to the leaf. It creates a protective barrier against the humid air of spring and maintains sharpness for longer.
How should the shavette be cleaned?
A shavette is similar to the razor but has the great advantage that the blade is replaceable. However, this does not mean that the tool itself is maintenance-free. On the contrary, the construction with blade holders tends to accumulate both hair residue and soap residue that can affect how the blade sits.
Disassembly
Start by removing the leaf stalker completely. If your shavette has a plastic or metal insert, remove it so that you can access all hidden surfaces.
Cleaning the holder
Use a small brush or an old toothbrush to clean away small hairs that are stuck in the mechanism. As with your other shaving tools, warm water and a dash of dish soap work great for dissolving build-up.
Disinfection
Since a shavette is often used for precision work and contouring near sensitive skin areas, it should be disinfected regularly. Dip the empty holder in medical alcohol for 30 seconds. It kills bacteria and ensures that you have a completely sterile surface for the next shave.
Drying
Be extremely careful to wipe the shavette completely dry, especially in the notch where the blade will sit. If moisture remains when you insert a new blade, surface rust can form and spread to the blade holder.
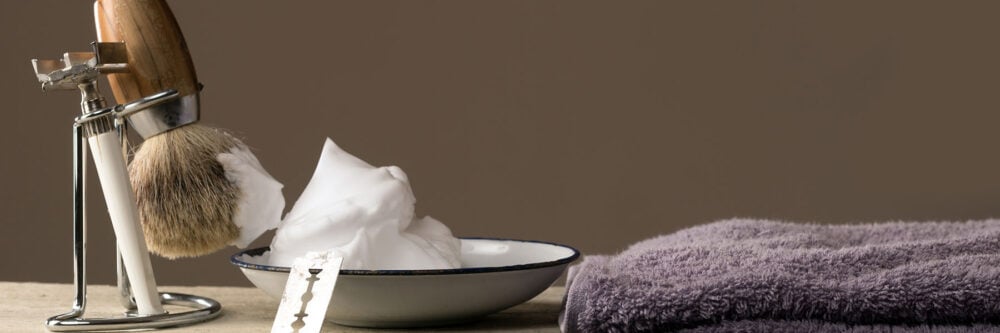
Step 4: Shaving Bowl and Shaving Stand – Order in the Bathroom
It’s easy to focus solely on the sharp blades, but your shaving bowl and shaving stand are fundamental for your other shaving tools to stay fresh and work optimally over time. These accessories form the base of your shaving routine, and if left unmaintained, they can actually become a source of both bacteria and unnecessary wear and tear on your more expensive equipment.
Sanitizing the shaving cup
A ceramic or stainless steel shaving bowl acquires a dull, greyish film over time. This is a mixture of limescale and dried-on soap residue that not only looks dull, but can also affect the chemistry when you’re trying to whip up a new lather. During your spring cleaning, you should clean the bowl thoroughly with warm water and a grease-dissolving dishwashing liquid. It is critical to remove any old, rancid grease that may remain at the bottom or in any grooves. If the bowl has deep patterns of lather-building, you can use a dish brush to ensure that no old soap is left as a breeding ground for microorganisms.
The role of the shaving stand for your shaving tools
Your shaving stand fulfils a technical function: it ensures that air can circulate around the brush and razor so that they dry properly. If the place is dirty, it is counterproductive. Start by wiping the place with a damp cloth to remove dust and dried water droplets.
If you notice that the rack has become oxidized or lost its luster, a mild metal polish can be used to restore the finish. Here, however, caution is required: make sure to rinse off just about all the plaster metal afterwards with plenty of water. Any chemical residue from the polishing brush must absolutely not come into contact with your brush or the head of the razor, as it can irritate the skin or damage the natural hairs in the brush. By keeping the rack clean, you create a safe storage place for your most important shaving tools and extend their life significantly.
Step 5: The right storage for the season
When all your shaving tools are shining, look over where they stand. Bathroom cabinets are often too dense and damp, which is a perfect environment for both bacteria and corrosion. To prevent mould formation in the knot of the brush and rust on the mechanical parts of the planer, they should be stored where air can circulate freely. An open rack placed on a dry surface is the best insurance you can give your shaving tools for the coming season.
Summary
Caring for your shaving tools is all about maintaining that unique feel of new equipment and ensuring a close-to-the-skin, irritation-free shave. By avoiding harsh home remedies such as shampoo and conditioner, and instead investing in gentle cleaning with dish soap and thorough mechanical brushing, you extend the life of your arsenal by several years. A clean equipment not only gives a technically better shave – it gives a significantly better start to the day.